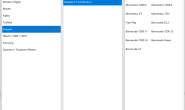
1.进入希捷F3进修程序;
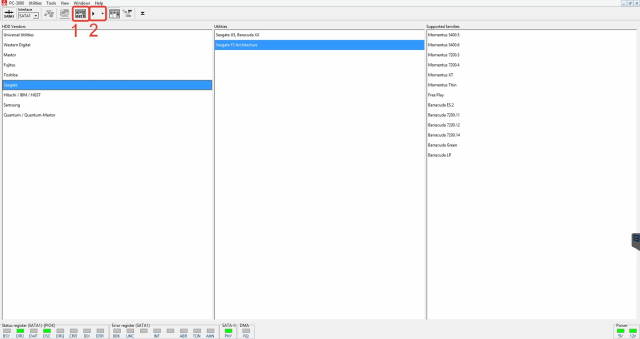
2. 备份硬盘的所有固件和系统文件;
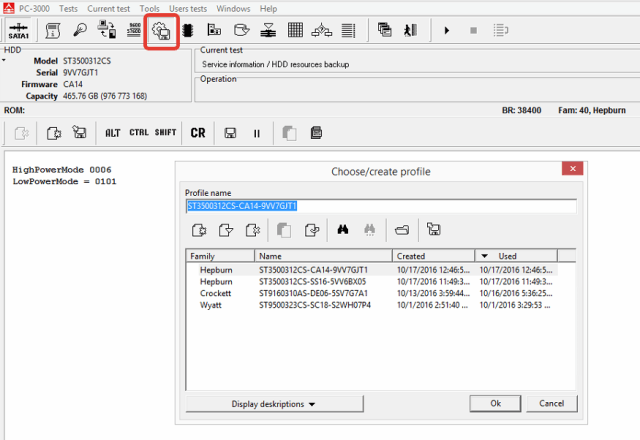
3. Edit HDD ID – 禁止所有选项
Check this for more details.
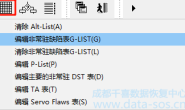
*4 (可选). 清除G-list (T>i4,1,22) 和 Non-resident G-list 并重建编译器(T>m0,6,3,,,,,22)
Do it ONLY in two cases:
- You already run hiding defects and something got broken/hanging
- G-list has wrong items (drive already have a problem with translator)
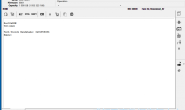
5. 运行硬盘逻辑扫描

下图为操作步骤
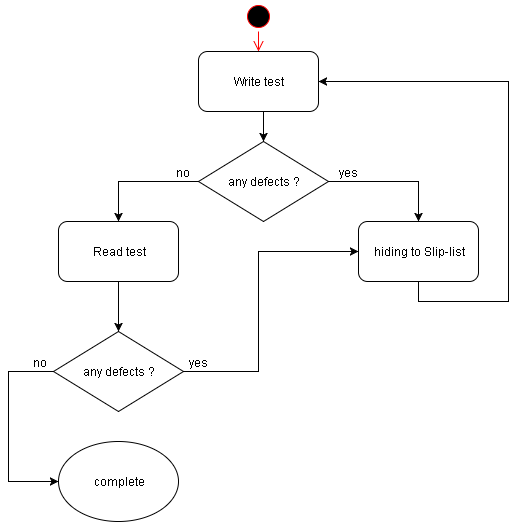
It’s recommended to leave all logical scan parameters by default.
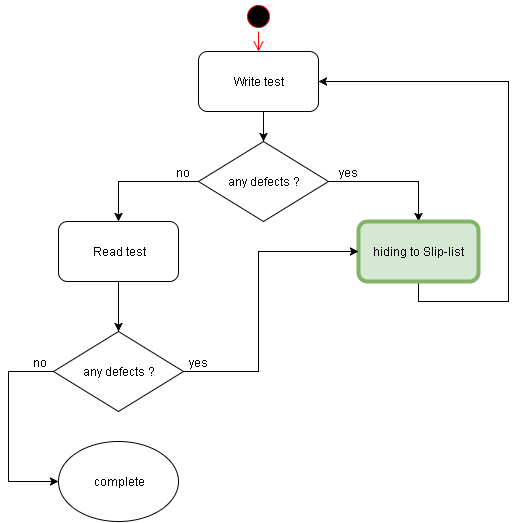
Let’s take a look on hiding to Slip-list stage more detailed.
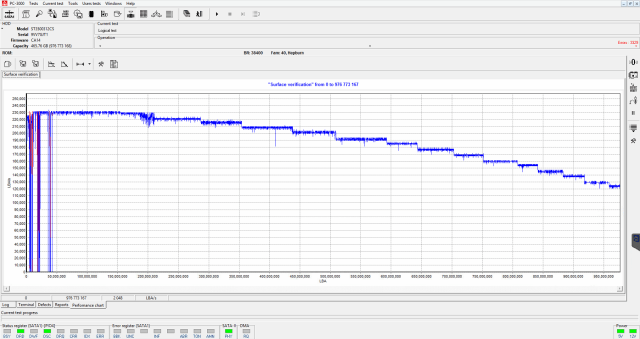
Results of logical surface scan will looks like
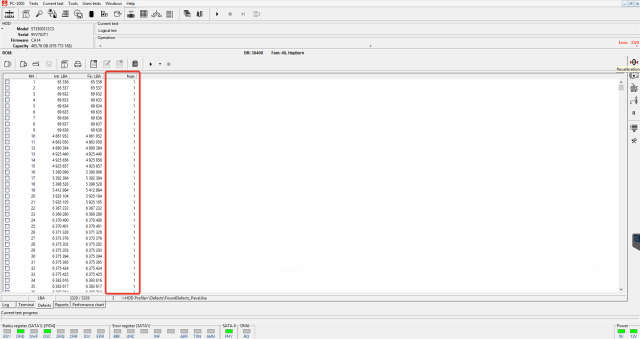
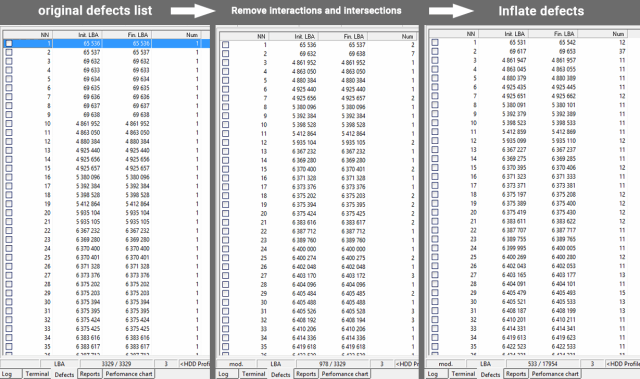
Now let’s move to Defects tab. As you may see, defect chains consists from only one defect.
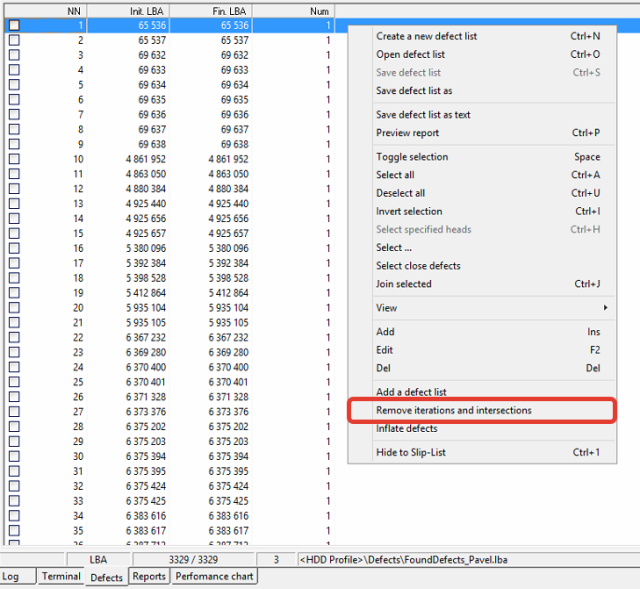
To save defects more quickly it’s recommended to group chains. For doing this you need to select at context menu of defects editor Remove interactions and intersection option:
To prevent defects spread in future you can use Inflate defects option. Here is its default configuration:
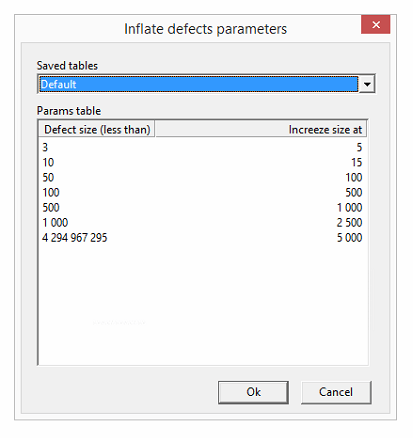
To use Inflate defects option or no – it’s only your decision.
At picture below you can clearly check result of preparations:
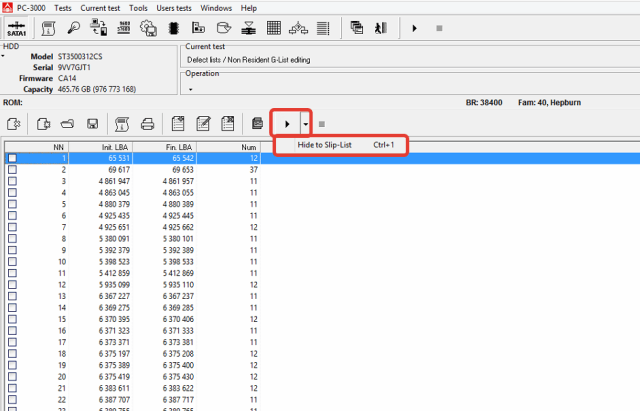
After preparations with defect list just press Hide to Slip-List button and go to next stage of block scheme:
Happy defectoscopy!
转载请注明:成都千喜数据恢复中心 » 使用PC-3000 隐藏希捷F3系列硬盘的坏道
