The method can be used to recover original ROM image and then write it into donor PCB when original PCB was damaged, lost, or original ROM was lost.
当原始电路板或原始 ROM 损坏的情况下用这个方法可以用于恢复原始的 ROM 以及把原始 ROM 写到供体电路板上,从而实现数据访问
The idea is to rewrite the compatible donor ROM image to donor PCB and then recover the unique original ROM modules from SA modules and write them to the PCB.
思路是重写一个匹配的 ROM 映像到供体电路板然后从服务区模块恢复原始 rom 模块并把 rom 模块写到电路板中
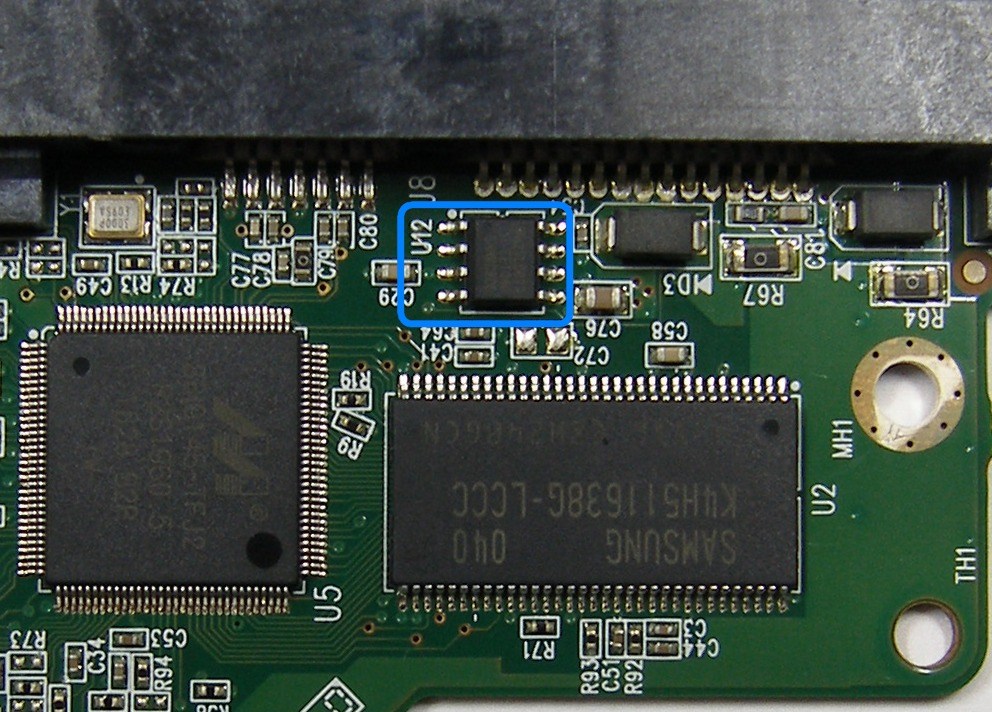
The procedure is applicable to almost all WD Marvell architecture drives with external (U12 IC is present on PCB) ROM, that has SA modules 35 and 109.
这个方法适用于几乎所有 有外置 rom(U12)并且服务区模块包含 35 和 109 的西数硬盘
This procedure is not applicable to drives with internal ROM IC (U12 is not present) as well as to classical WD Caviar architecture drives(non-Marvell).
这个方法对于 rom 集成到主控芯片的西数硬盘以及传统的 WD Caviar 硬盘不支持

To perform the procedure the SA and at least one system head should be OK.
为了执行整个流程 服务区和至少一个系统磁头要是好的
The modules 35 and 109 are necessary to perform the procedure.
模块 35 和 109 对于整个过程是必须的
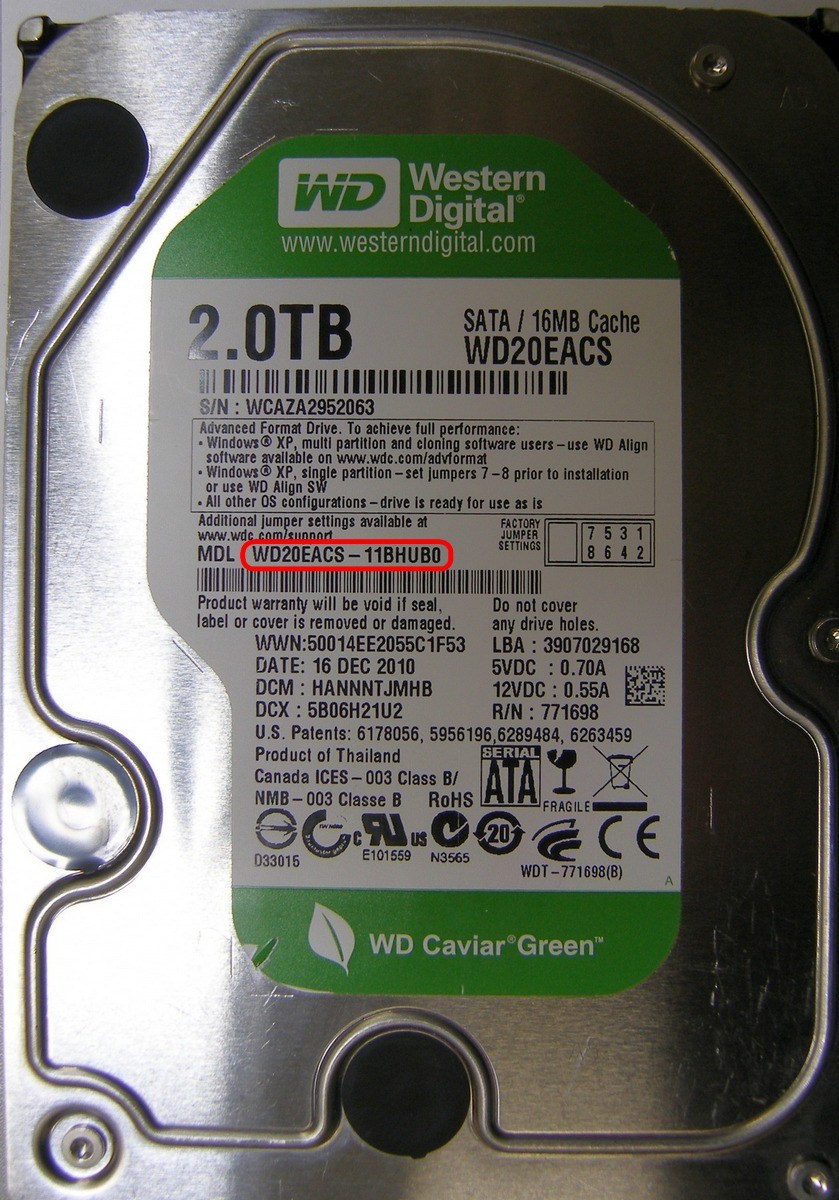
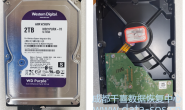
In this example we recover WD20EACS-11BHUB0
本例当中我们恢复 WD20EACS-11BHUB0(Sadle G6 family)
(Sadle G6 family) drive with not original (donor) PCB. The drive goes READY but doesn’t have access to User Area and to Service Area
WD20EACS-11BHUB0(Sadle G6 家族)驱动器没有原始的(donor)PCB。该驱动器已准备好,但没有访问用户区和服务区
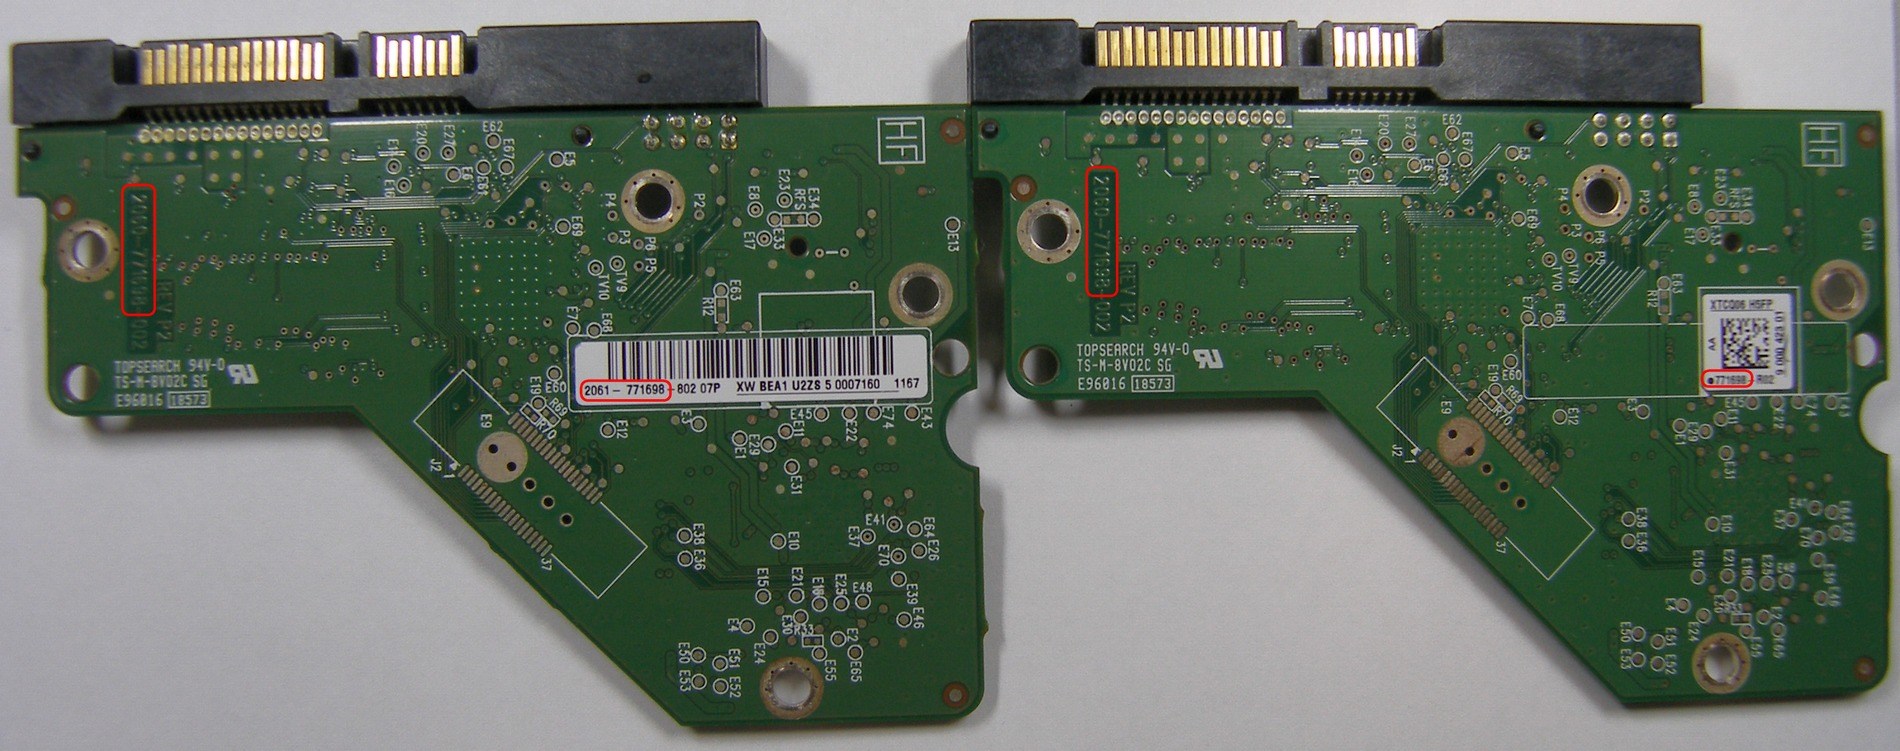
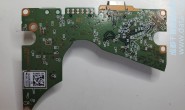
The donor PCB is similar to the original one(has the same number 2061-771698)
找到印刷电路板PCB类似于原来的(具有相同编号的2061-771698)
Here is the procedure:
程序部分:
Please pay special attention that the procedure is only applicable to the drives with external ROM (U12 ROM IC should be present on PCB).
请特别注意该程序只适用于驱动外部ROM芯片(PCB上带有U12 ROM芯片)。
Let’s power up the drive and wait until it’s ready.
让启动程序,打开电源,直到硬盘准备就绪。

The spindle motor should spin now.
现在的主轴电机应该在旋转。
If the motor doesn’t start spinning and drive doesn’t get to ready (always in BSY or ERR) that means the ROM version is completely not compatible or it’s something wrong with PCB.
如果电机不启动旋转,硬盘不就绪(总是在BSY或ERR)这意味着ROM版本完全不兼容或PCB是有损坏的。
You can try to write different ROM via Boot ROM mode or try another PCB
你可以试着用ROM引导模式(Boot ROM mode)或尝试另一个电路板来写入不同的ROM。
When the drive is ready we can start the WD Marvell utility.
当驱动器准备好我们就开始WD Marvell utility。
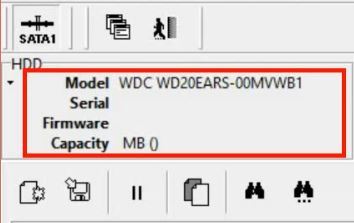
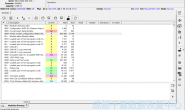
As we can see the HDD ID is not full now.
我们可以看到硬盘ID现在是不完整的。
Just the drive model is present(it is loaded from ROM).
仅仅是驱动模式(它是从ROM加载)。
Service Area modules are not available at the moment.
服务区模块现在不可以访问
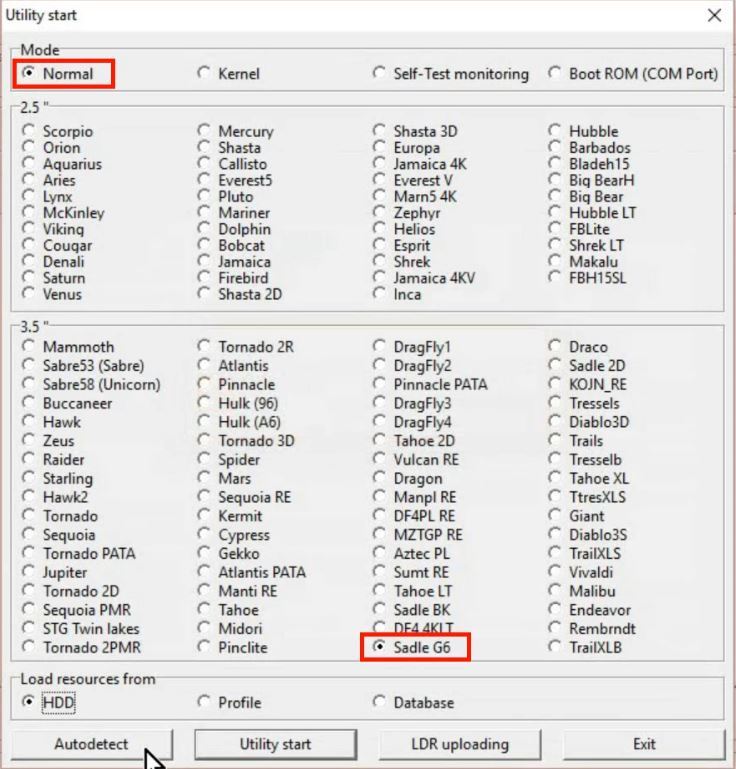
Press “Autodetect” button to detect family
点“自动发现”去发现家族
Check that the drive family is detected correctly.
检查硬盘的家族是否正确。
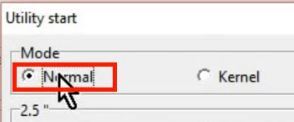
Switch the utility to NORMAL mode and press Utility Start.
将模式转换为NORMAL正常模式,然后按Utility Start启动。
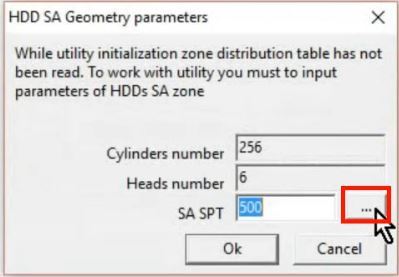
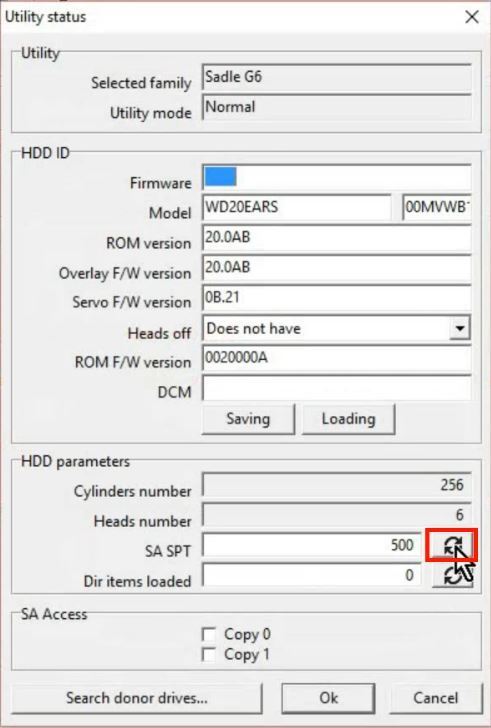
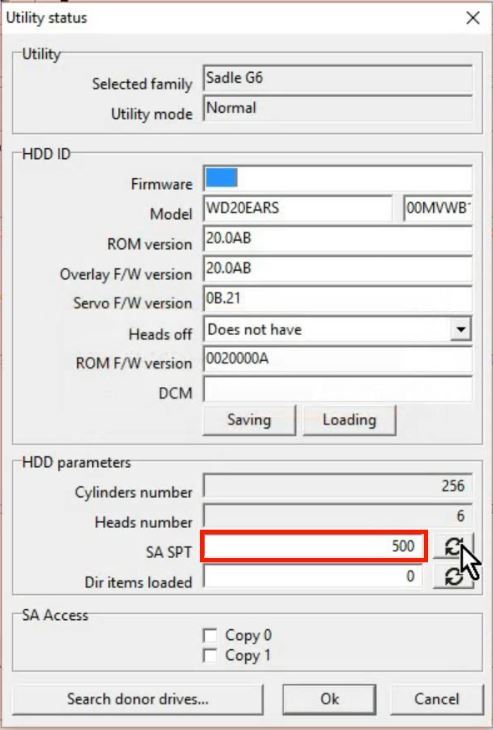
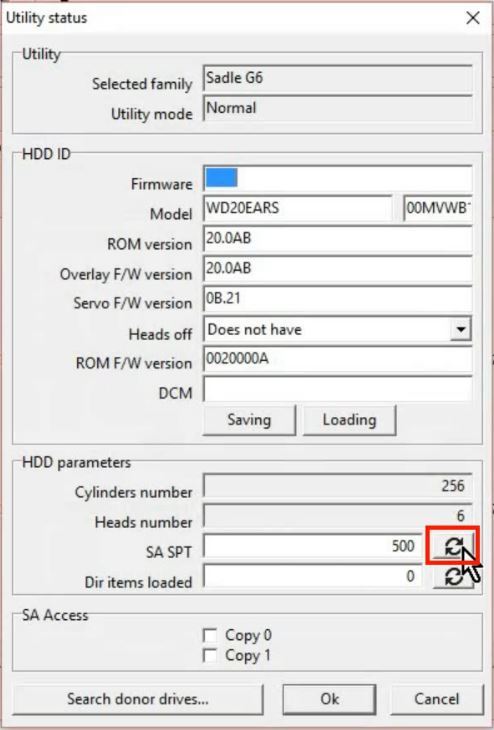
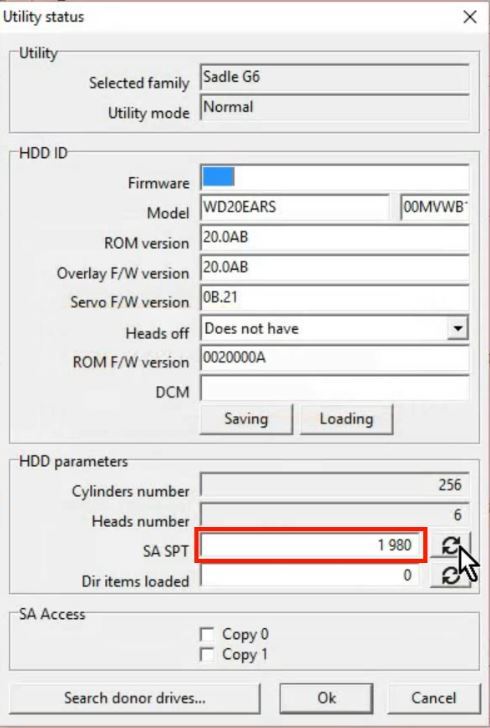
Press Detect SA SPT button.
The value must change from 500 (utility default) to the real value(for example 1980 for this drive family).
这个值必须改变从 500(默认值) 变为一个真实值 (比如说 这个硬盘的值为 1980)
If it is detected that means heads can read servo markers.
如果这个值发现成功说明磁头可以读取
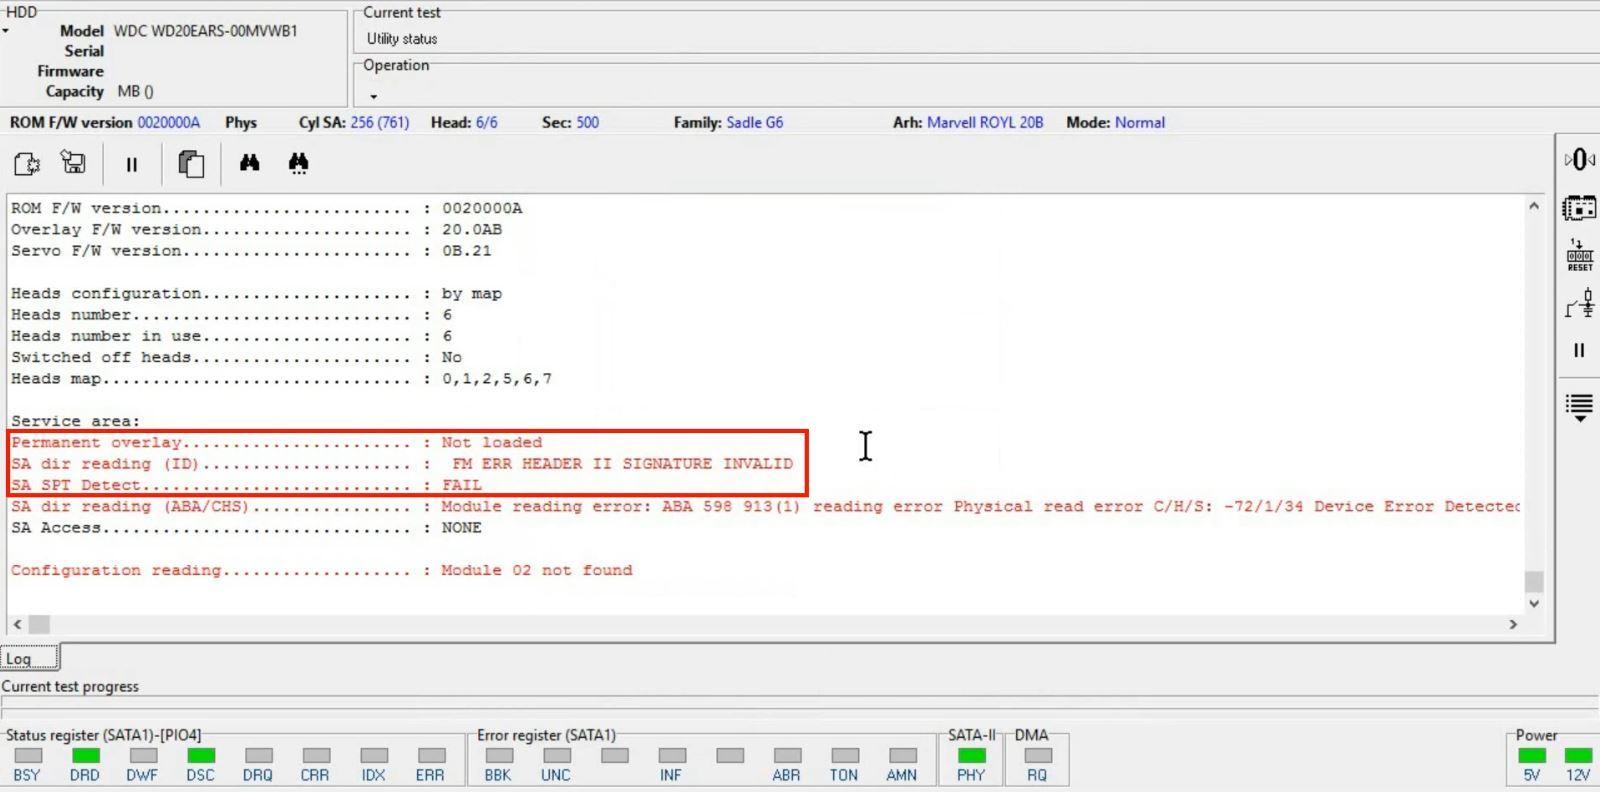
If it is not (as in this case) – we need to find a compatible FW version for ROM.
如果没有发现,我们需要去找另一个固件版本匹配的 rom
Press OK to continue the utility initialization.
点 ok 继续实用程序初始化
Service Area is not readable now.
服务区域现在不可读取
So we can conclude that the ROM FW version in the PCB is not compatible with SA structure on the surface
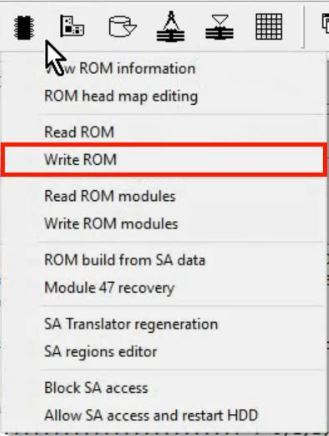
We can try to write another image into ROM from the same family drive.
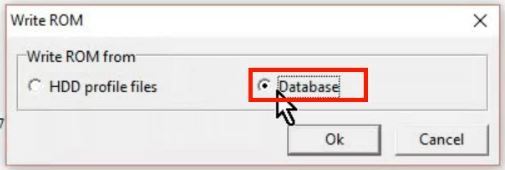
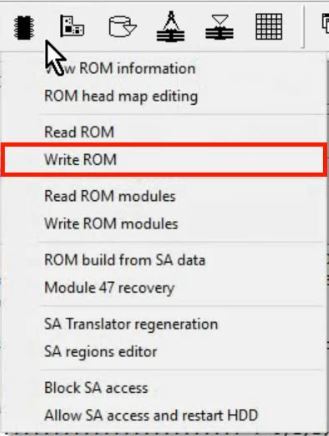
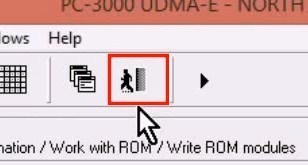
To do that we press “Work with ROM” button and select “Write ROM” option.
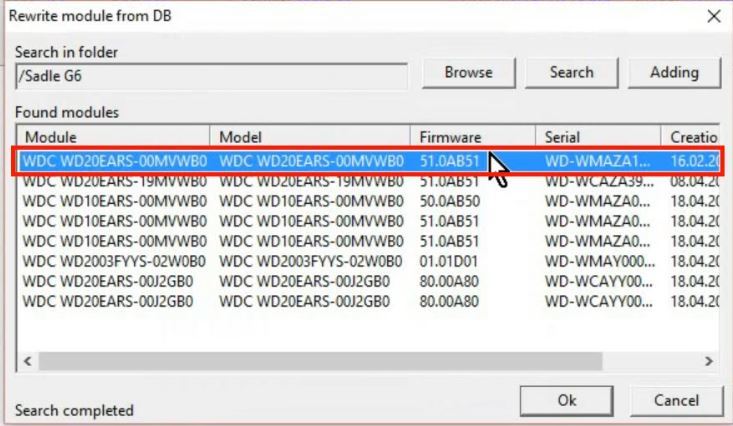
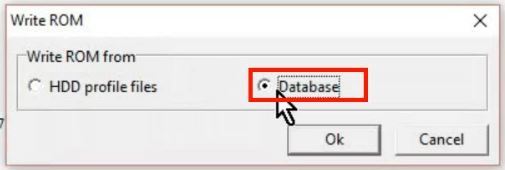
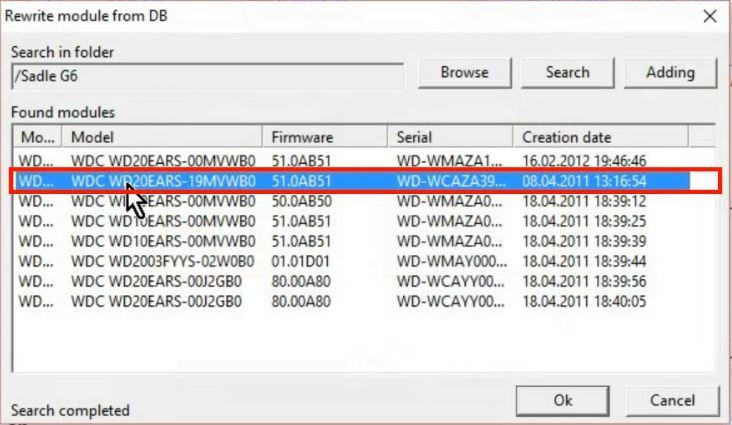
We will take the image from PC-3000 DataBase
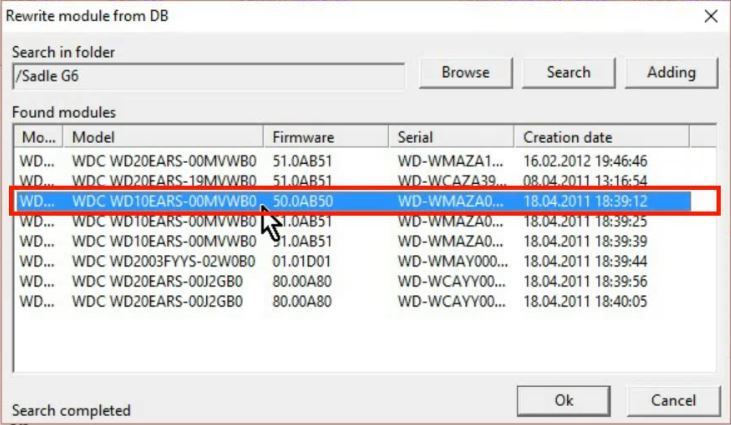
We don’t know the necessary compatible FW version so we can check them one by one
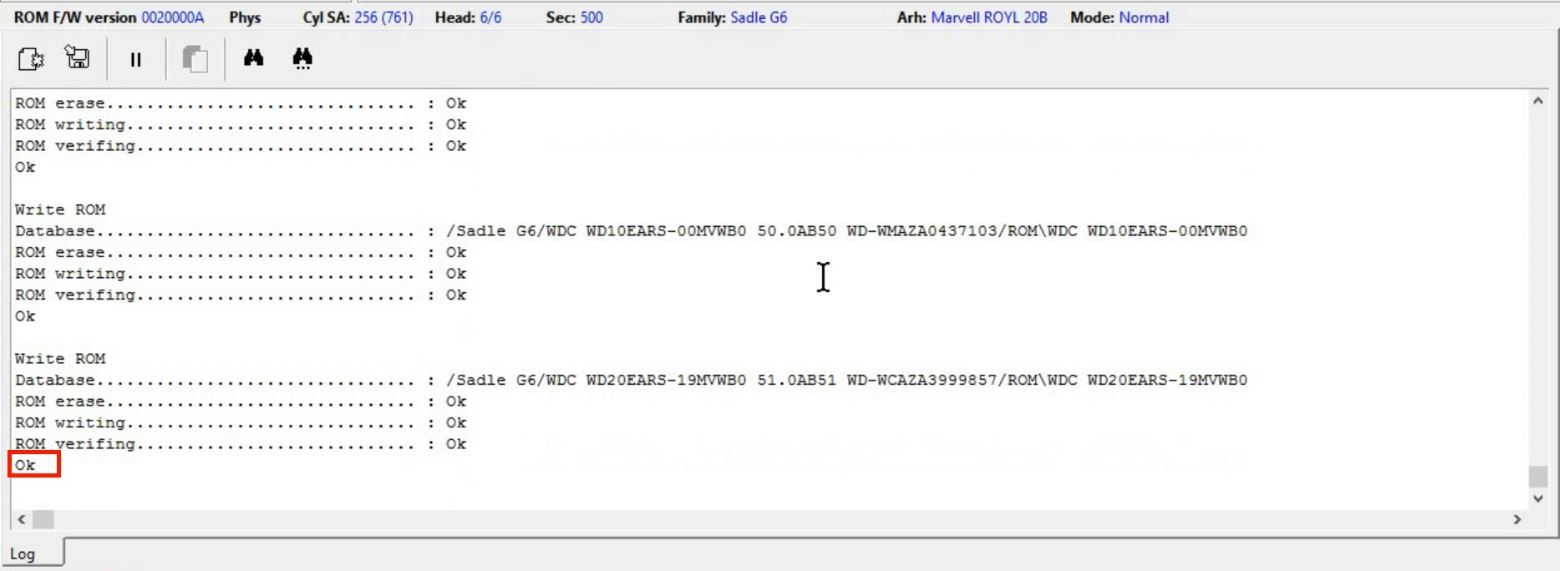
When the writing process is completed
we need to restart the drive

Wait untill it is ready
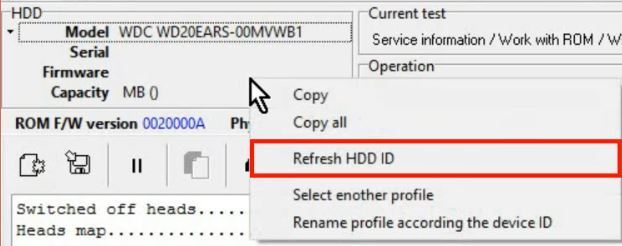
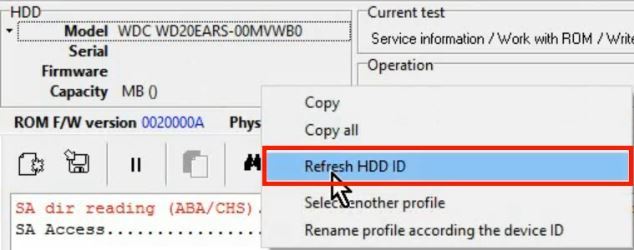
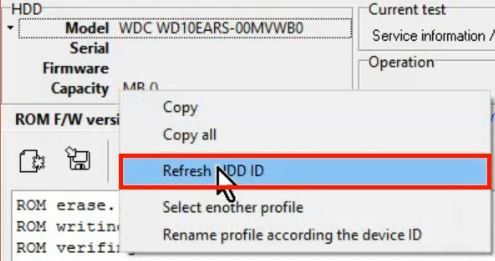
Then we right click on the HDD ID field and select Refresh HDD ID
As we can see the model changed but the HDD is still not full
Then we can try to detect SA SPT again.
This option is available in the Utility Status window.
We still can’t detect SA SPT.
So we can conclude that the ROM FW version is not compatible again.
So we need to check another one.
Let’s write another ROM image from the DB.
We pick another donor ROM
Wait till the process is finished.
Then again repower the drive

When it is ready we check the HDD ID and the SA SPT again.
And no luck again
SA SPT can’t be detected.
The FW version is not compatible again.
So we go an write another one for checking.
Wait till the process is finished
Then again repower the drive again

When the drive is ready check the HDD ID
Now the drive is initialized with full ID!
Let’s try to detect SA SPT
Detected!
Now we need to restart the utility to initialize it with all the parameters of the drive
Press “Autodetect” button
And check that family is correct and mode is set to Normal.
Start the utility
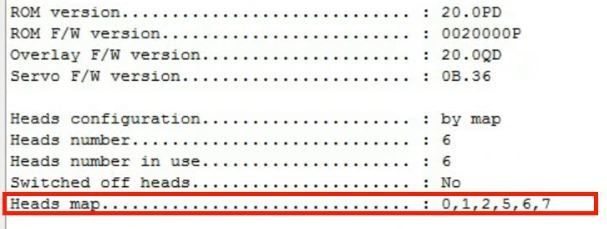
Pay attention to the headmap. it must be the same as on your patient drive.
The full HDD ID is present
And the Service Area is available by two copies
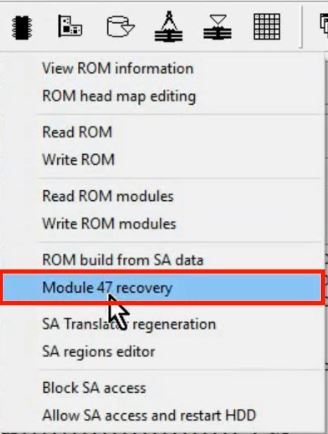
So now we can recover the original ROM module 47 – SA adaptives
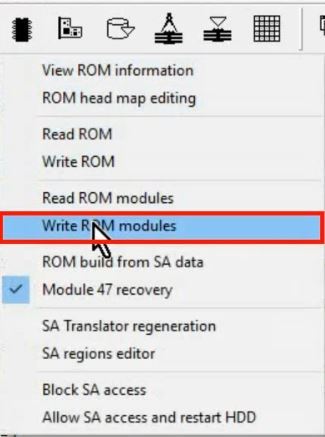
The module is recovered from SA now and we can write it into ROM
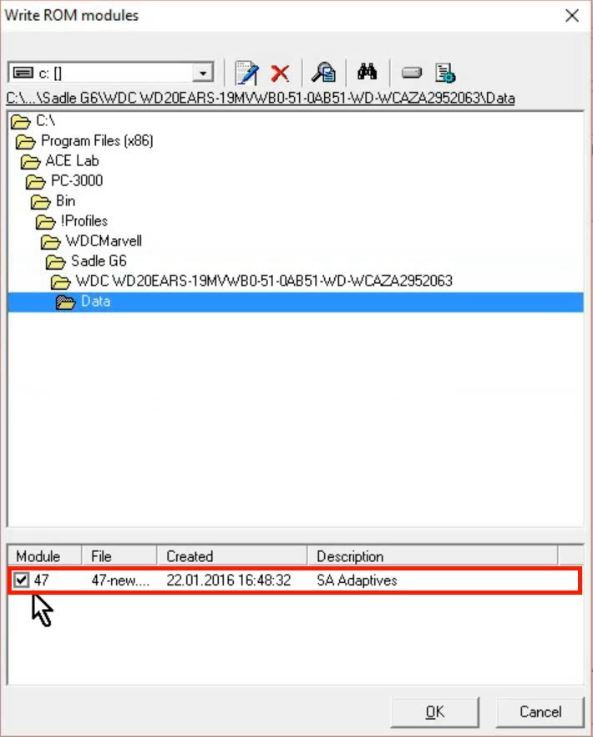
We navigate to the HDD profile folder and select the module and confirm by pressing OK
Wait until module is written successfully
We need to repower the drive to reload the new module

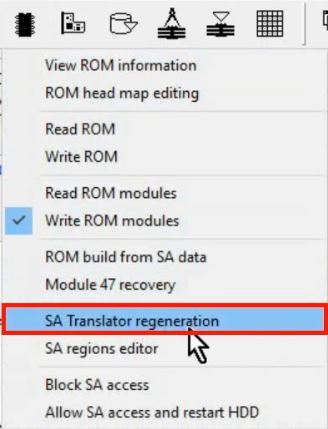
When the drive is ready we can go the next step – SA translator regeneration
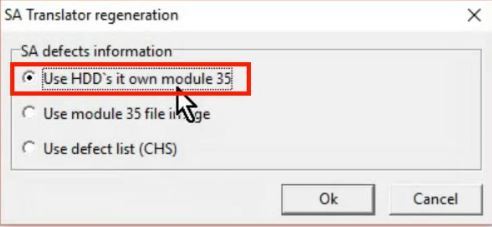
We will use the SA module 35 right from the surface
The process is successfully finished!
Now we can repower the drive again to reload te new modules and check the user area access

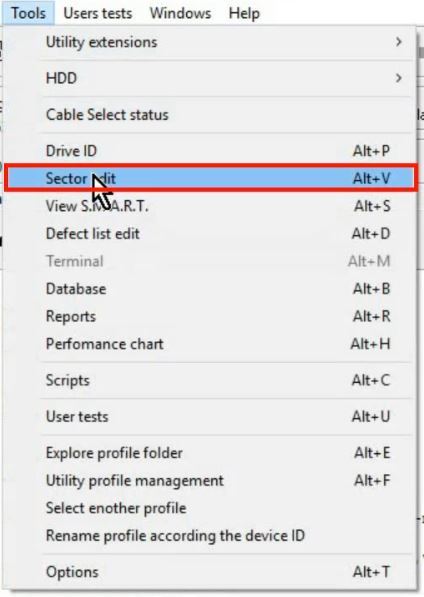
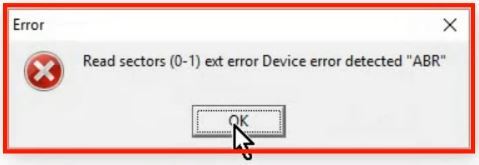
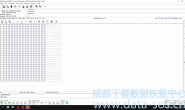
When the drive is ready we can use Sector edit tool to check User area access
And still no access to User area!
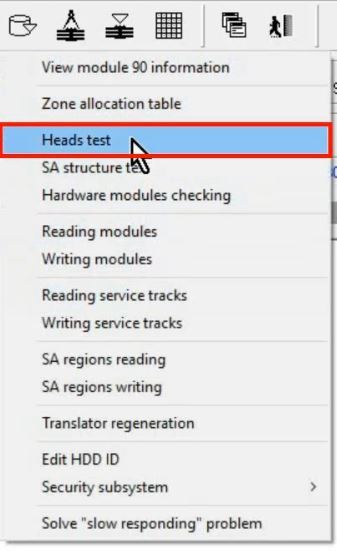
Let’s test heads
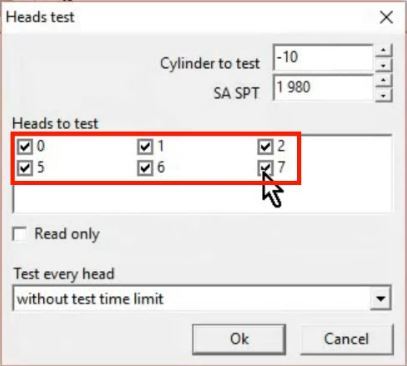
We need to check all heads and press OK
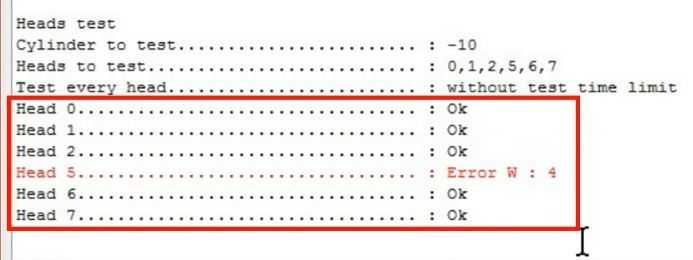
We can see writing problems by Head 5
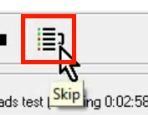
Now we know that the Head 5 has writing problems and we can skip it
The test is finished. As we can see from the results all the heads passed it excep Head 5
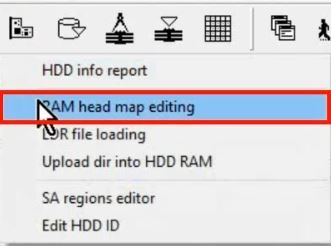
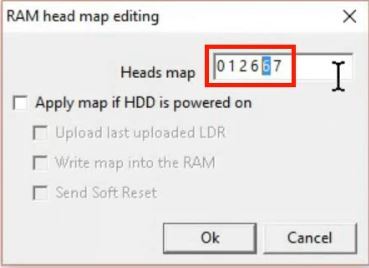
So we can edit headmap in RAM to bypass it
We just replace it with good head 6
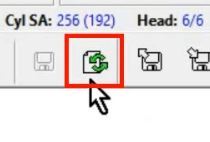
And press Soft Reset button to apply changes

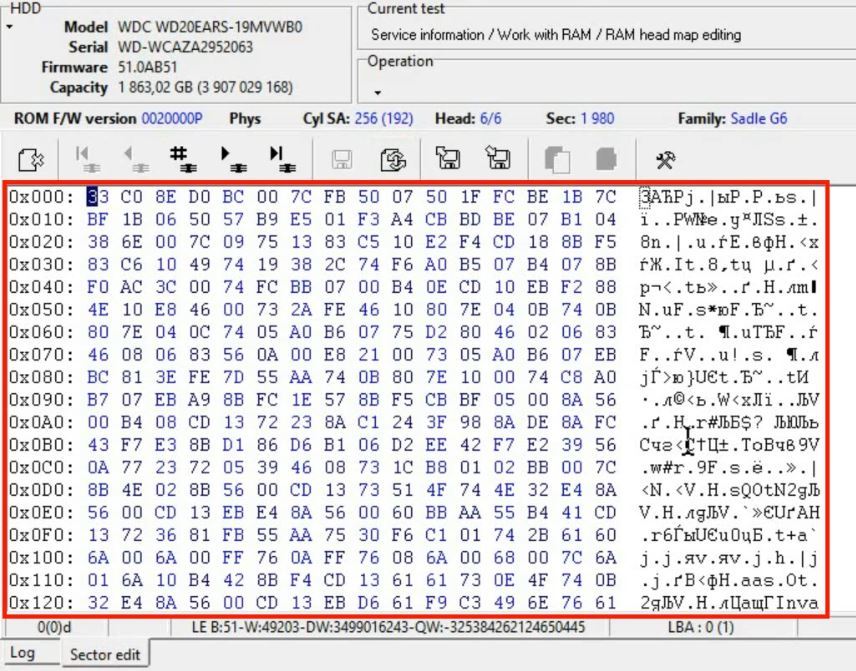
And now let’s try to read user sectors again
The data is available!!!
